Installation
- Make sure Composer is installed on your server. If it's not, please install it.
- Create a project folder and navigate to it.
- Run the command
composer init and answer the questions to create your project. For this example, I used the name festi-demo. - Replace your
composer.json with the following:
{ 'name': 'your_company/project_name', 'description': 'Description', 'repositories': [ { 'type': 'composer', 'url': 'https://packages.festi.io/' } ], 'require': { 'festi-team/festi-framework-core': 'dev-master', 'festi-team/festi-framework-database': 'dev-master', 'festi-team/festi-framework-theme': 'dev-master', 'festi-team/festi-framework-cli': 'dev-master', 'festi-team/festi-framework-di': 'dev-master', 'php': '>=8.0' }, 'minimum-stability': 'dev', 'autoload': { 'psr-4': { '': 'src' } }, 'autoload-dev': { 'psr-4': { '': [ 'tests' ] } }, 'require-dev': { 'phpunit/phpunit': '9.*', 'phpunit/php-code-coverage': '9.*', 'phan/phan': '4.x', 'squizlabs/php_codesniffer': '3.*' } }
- Run the command
composer install. - Create a database if you haven't already.
- Now, use the
./vendor/bin/festi-install tool to install the project.
Festi Install Tool
./vendor/bin/festi-install was created to make the developer's life easier.
When you run the tool, the first question will be: 'Which installation option do you want?'. You can choose one of several options:
| Type | Description |
|---|
dashboard | Option when you need to create an admin panel or dashboard with ACL support. |
site | Website or portal |
api | RESTful API |
rpc | RPC API |
async | Asynchronous service for IoT, Game, Data Streaming, etc. |
Choose the option you need; for this example, we'll choose dashboard. Next, you'll need to provide database access, and generally, all the following installation steps should not cause any problems. Each installation type also comes with demo content to structure the project right after installation.
You can pass all installation steps through command-line parameters, which can be especially useful for automating processes and quickly deploying projects. For example:
| Option | Description |
|---|
--db_username | The database username. |
--docker | Set to y to install with generated Docker files. |
--force | Used to force the installation of the framework. |
--install_path | Path to the folder where you want to install the project. |
--install_type | This option determines the type of installation to perform. |
--db_host | The hostname of the database server. |
--db_username | The username to use when connecting to the database. |
--db_password | The password to use when connecting to the database. |
--db_name | The name of the database to use. |
--db_type | The type of database to use, such as MySQL or PostgreSQL. |
--db_port | The port number to use when connecting to the database. |
--timezone | The timezone to use for the PHP installation. |
--is_install_demo | Set to y to install basic settings and routing for login/registration. |
--site_host | The hostname of the site. |
--dashboard_base_http | The base URL of the dashboard. |
--scm_host | The hostname of the SCM repository. |
--verbose | A boolean value indicating whether or not to enable verbose output during installation. |
--docker_php_version | The version of PHP to use when installing with Docker. |
--docker_server | The server to use when installing with Docker. |
--docker_swoole_version | The version of Swoole to use when installing with Docker. |
--docker_service_host | The service host for the async type of project when installing with Docker. |
--docker_service_port | The service port for the async type of project when installing with Docker. |
Festi Install Tool supports project installation on MySQL, PostgreSQL, and SQL Server.
After installation, configure the server to point to the src/dashboard/ folder as the project's root.
It's often convenient to use symbolic links (symlinks), especially if you're using control panels like CentOS Panel, Plesk, etc. For example: ln -s festi-demo/src/dashboard/ public_html.
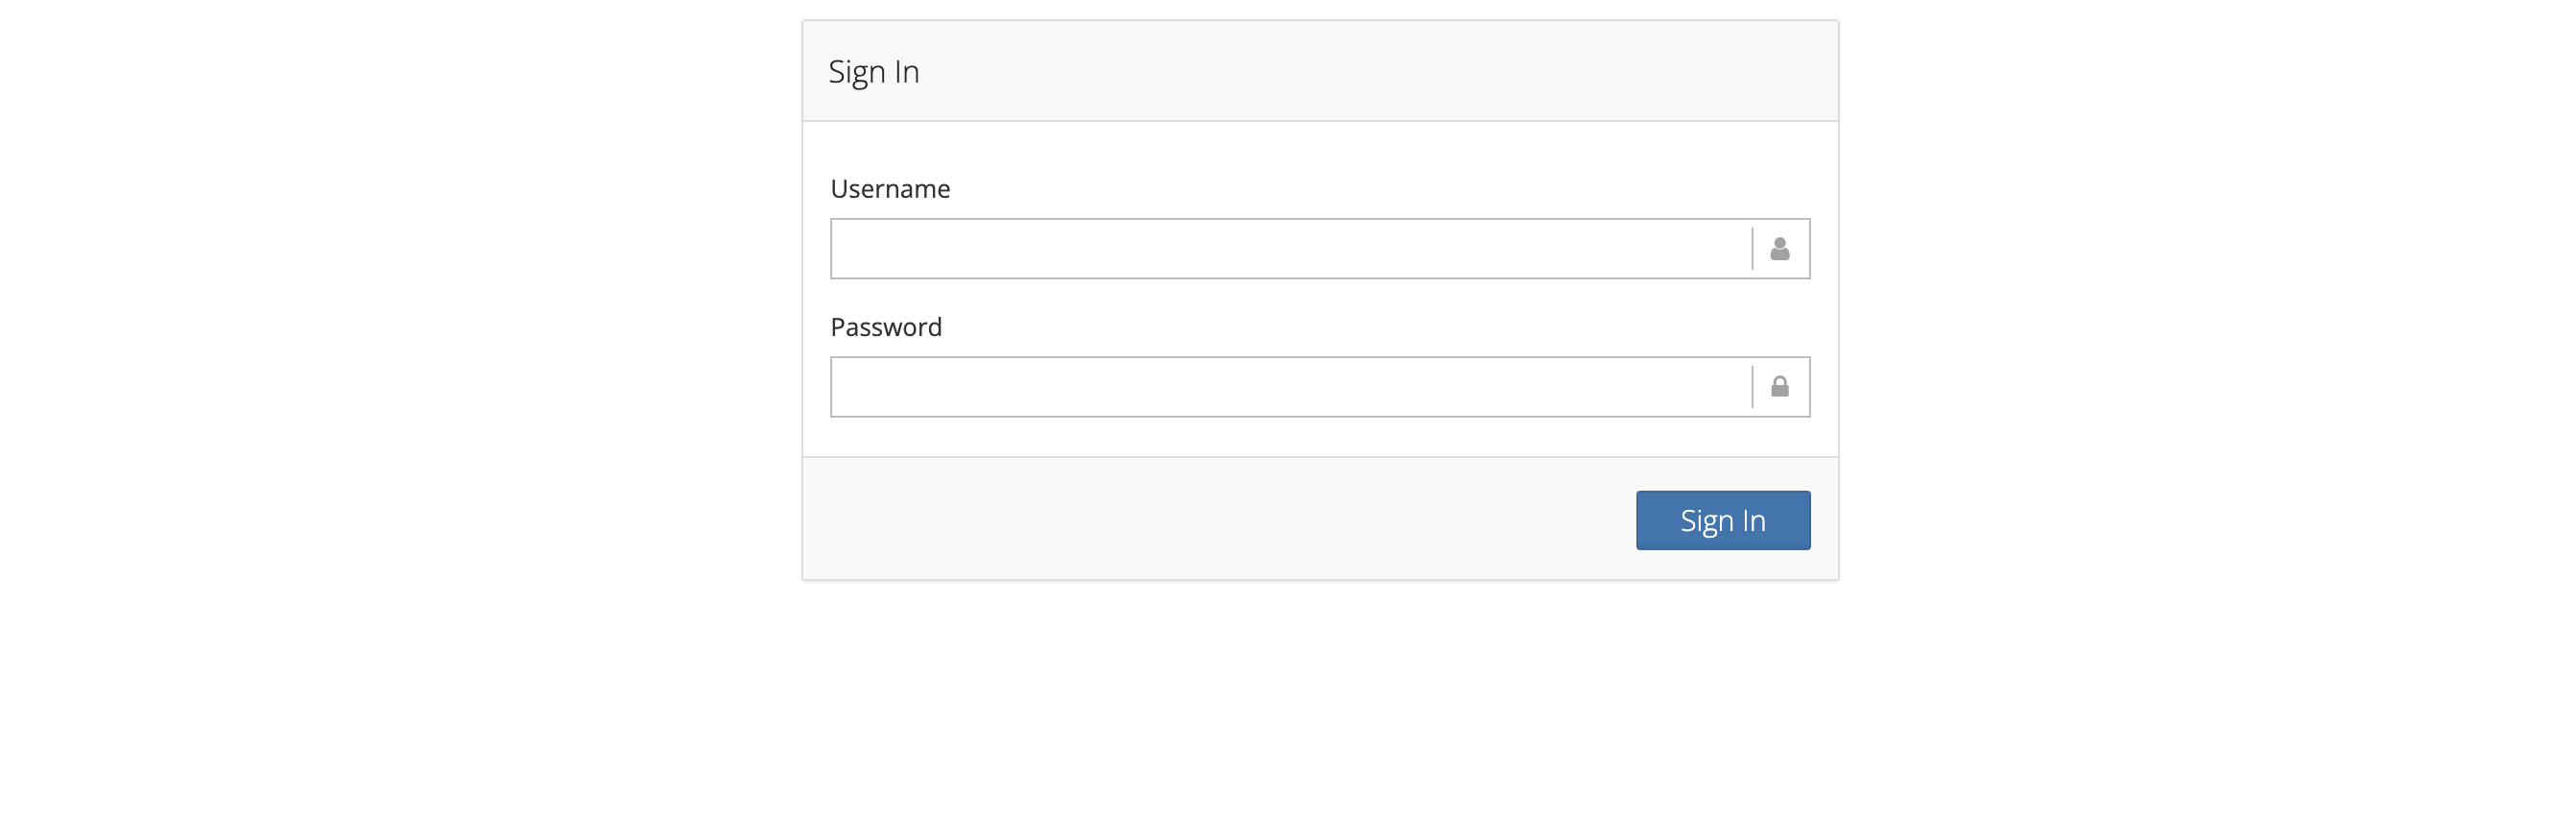
You should see an authentication form:
For proper operation, make sure that your php.ini file has the following settings:
open_short_tag = Off
Creating the First Plugin
Let's create a section for managing company expenses together. To do this, we need to create a new plugin called Expenses using the ./vendor/bin/festi-plugin utility:
cd src/dashboard/ ../../vendor/bin/festi-plugin
During creation, you need to provide the following parameters:
What do you want to create? [create, url, dgs]: create Enter Plugin Name: [required]: Expenses
Now, let's take a look at the structure of the plugin:
ls -l plugins/Expenses/
ExpensesObject.php ExpensesPlugin.php init.php tblDefs templates
ExpensesObject.php - This is a class that implements DataAccessObject for working with data in the database.ExpensesPlugin.php - This is a class that describes the business logic of the plugin and serves as a facade.init.php - This file is called at runtime for each request to the server.tblDefs - This is a folder for schemas that describe DataGridStore.templates - This is a folder for templates.
Creating the First DGS (DataGridStore)
DGS (DataGridStore) is a special component for displaying data in the form of a table. To describe a DGS, we need to define a schema in one of the available formats: JSON, XML, or an array. We can create a schema using the utility ./vendor/bin/festi-dgs or ./vendor/bin/festi-plugin. Let's create a schema for displaying expenses using the ./vendor/bin/festi-plugin utility:
- First, let's create an
expenses table in the database:
CREATE TABLE `expenses` ( `id` int(10) UNSIGNED NOT NULL, `cdate` date NOT NULL, `id_user` int(10) UNSIGNED NOT NULL, `amount` int(11) NOT NULL, `note` text NOT NULL) ENGINE=InnoDB DEFAULT CHARSET=utf8 COLLATE=utf8_general_ci; ALTER TABLE `expenses` ADD PRIMARY KEY (`id`), ADD KEY `id_user` (`id_user`); ALTER TABLE `expenses` MODIFY `id` int(10) UNSIGNED NOT NULL AUTO_INCREMENT; ALTER TABLE `expenses` ADD CONSTRAINT `expenses_ibfk_1` FOREIGN KEY (`id_user`) REFERENCES `users` (`id`) ON UPDATE CASCADE;
- Next, run the
./vendor/bin/festi-plugin utility and select the dgs option:
What do you want to create? [create, url, dgs]: dgs Enter Table Name: [required]: expenses Enter Plugin Name: [required]: Expenses Enter RegExp URL expression (ex: ~^/company/([0-9]+)/reports/$~): [required]: ~^/expenses/$~
After creating the DGS, the utility will generate routing rules and a method that will be called when navigating to /expenses/.
class ExpensesPlugin extends DisplayPlugin { /** * @urlRule ~^/expenses/$~ * @section none * @area backend * @userType user */ public function onDisplayExpenses(Response &$response) { $store = $this->createStoreInstance('expenses'); $store->onRequest($response); return true; } // end onDisplayExpenses }
Now, let's open the page /expenses/:
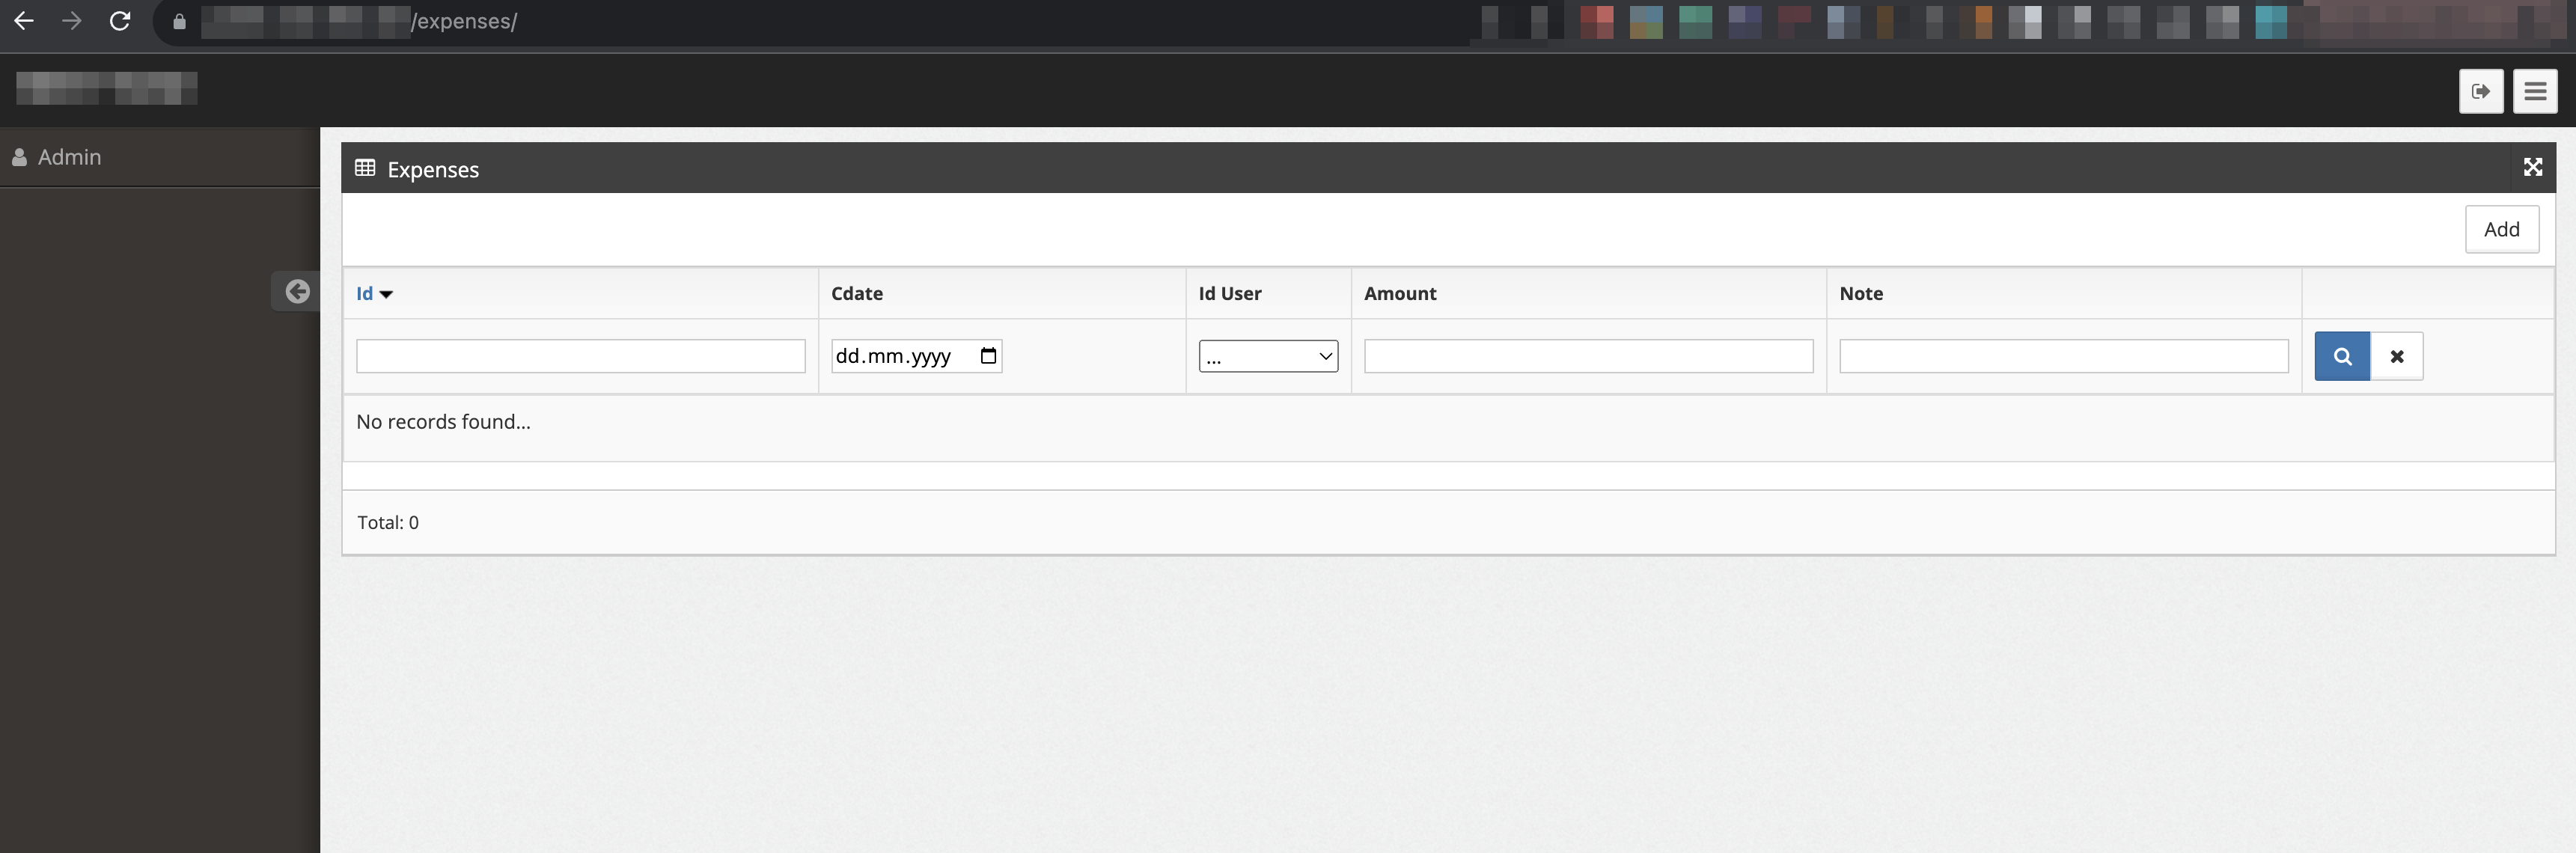
We have automatically created a DGS based on the table created in the database. Now, let's take a look at how the schema looks (/plugins/Expenses/tblDefs/expenses.xml):
' filter='text' /> ' filter='text' /> ' filter='select' /> ' filter='text' /> ' filter='text' /> ' /> ' /> ' /> ' /> ' />
In general, the rules for describing a schema are quite simple. For more details, you can read the documentation. Let's go through the key points:
table - the root element that describes a table, which can represent not only a database table but also an aggregated representation, for example, an API of some service.fields - describes the fields of the table that will be displayed in the table.actions - describes the actions that can be performed on records.field - describes a table field.action - describes an action.
You can create your own fields and actions, and you can also describe a large number of additional attributes. DGS has a wide range of events that allow you to add any business logic and modify any element.
Let's make some changes to the DGS schema to make it more organized:
' width='5%' filter='text' /> ' filter='text' /> ' filter='text' /> ' /> ' /> ' /> ' /> ' /> ' />
In this section, we've made the following changes:
- We've improved the appearance of the fields for a more organized look.
- We've added the
externalValues field to set default values for the cdate field.
Now, our add-record form looks like this:
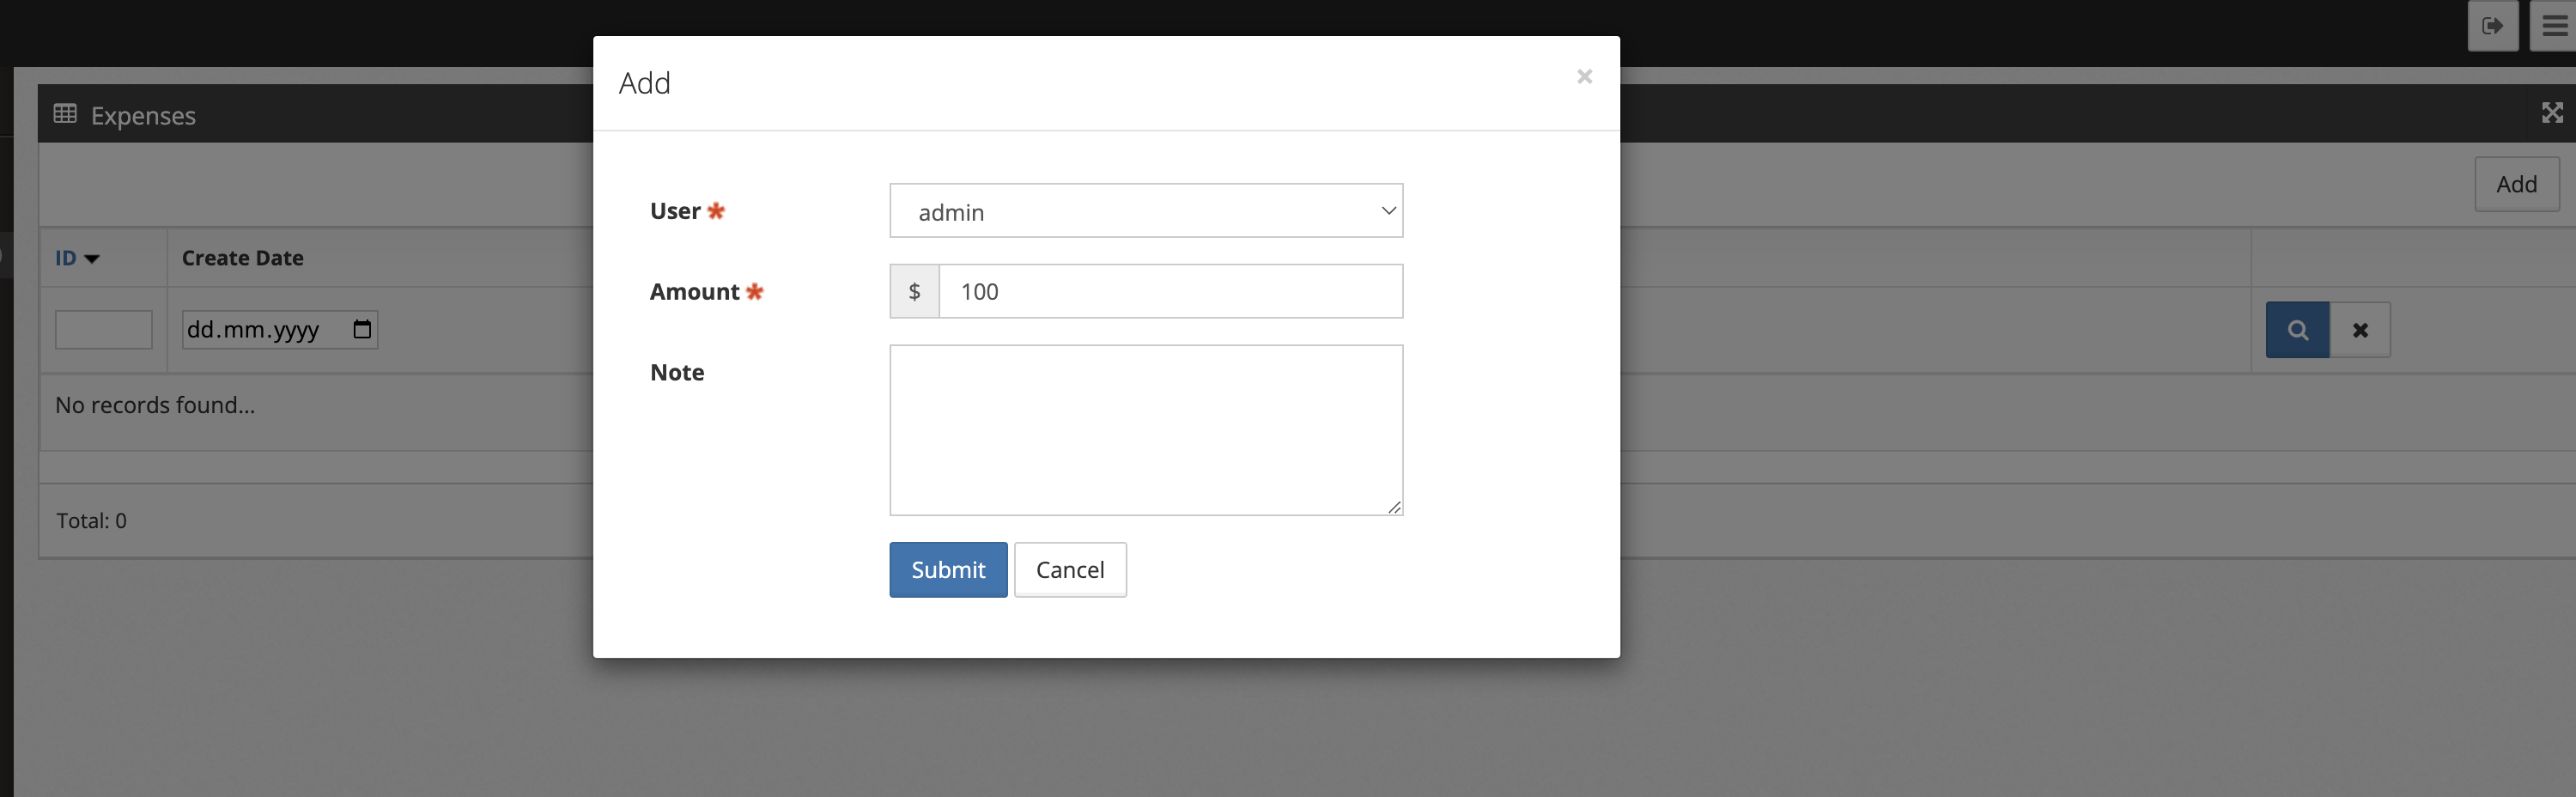
When adding a new record, the creation date is automatically filled in:

We've created a section for managing company expenses. In future articles, we'll explore more possibilities of DGS and the framework.